NORTH SPORE Blue Oyster
Mushroom Grow Kit Fruiting Block
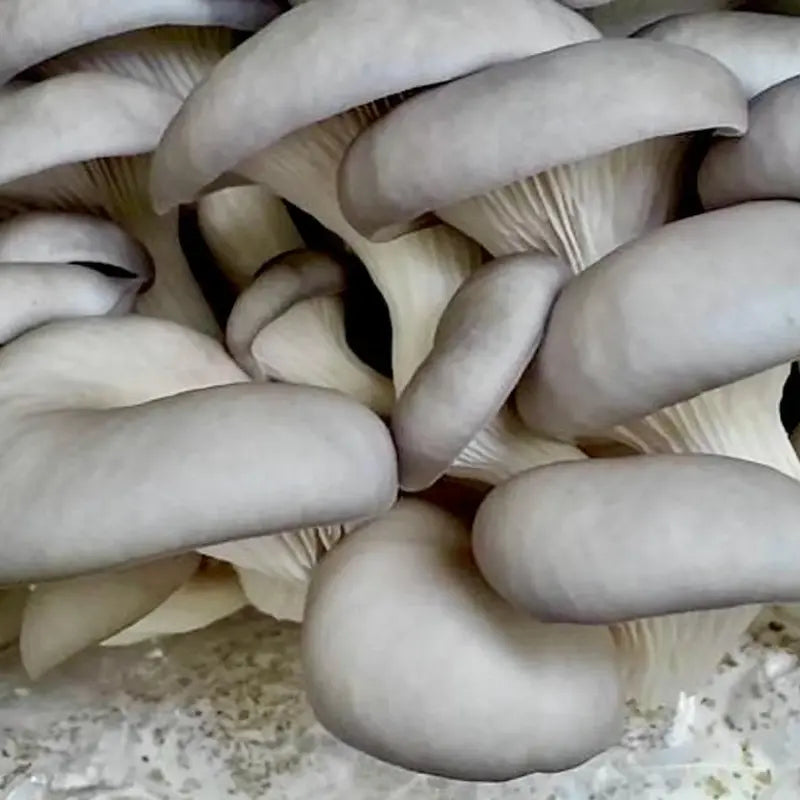
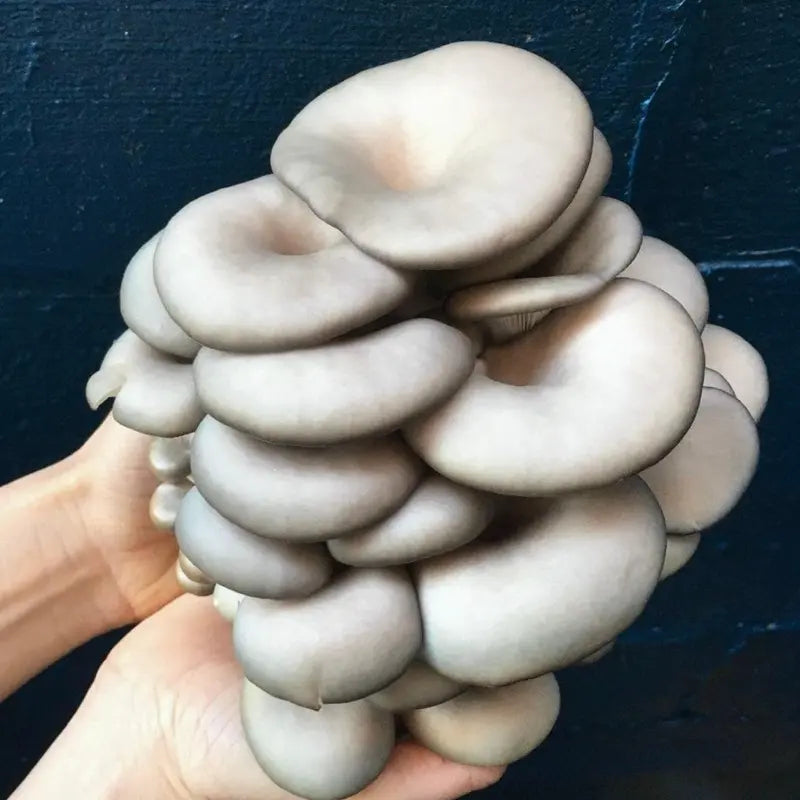
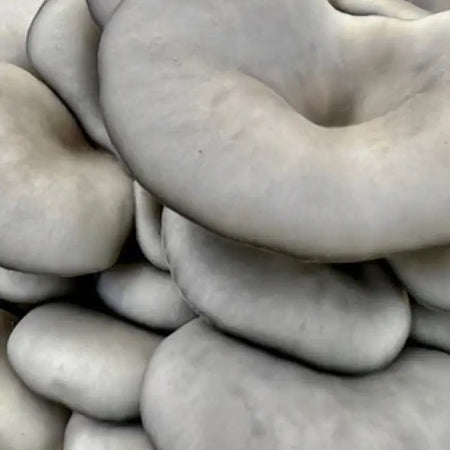
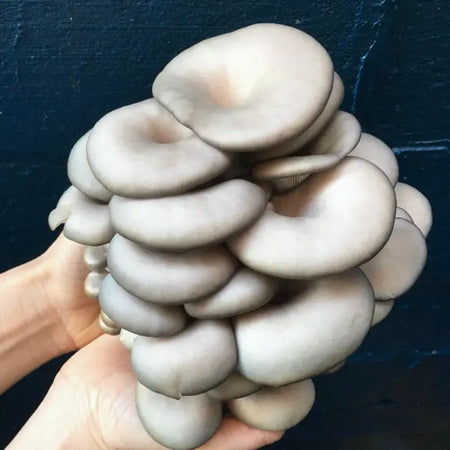
Blue Oyster (Pleurotus ostreatus) is a fast substrate colonizer with a strong bluish-gray hue. It produces richly umami mushrooms with a soft, meaty texture that pairs well with most dishes. Oysters are very reliable producers and tend to yield large flushes of mushrooms. They are also one of the easiest blocks to get subsequent fruitings from and should reliably produce a second flush or more.
|
Skill level
|
Beginner
|
|
Grow location
|
Indoors
|
|
Grow speed
|
1 to 2 weeks
|
|
Shelf life
|
6 months (refrigerated)
|
|
Flavor profile
|
Savory, meaty, earthy
|
|
Kit dimensions
|
6in H x 9in W x 6in D
|
|
Kit weight
|
5 lbs
|
Instructions:
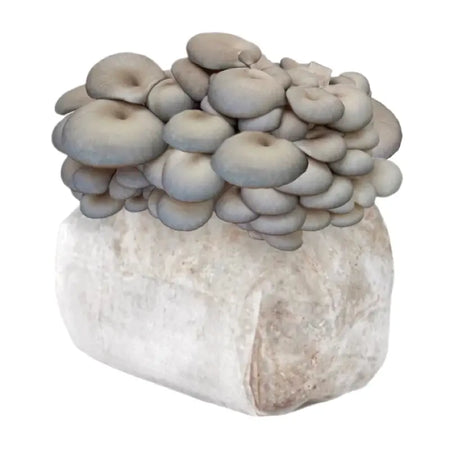
Your fruiting block kit is an amended sawdust block that has been colonized by mushroom mycelium. Mushrooms need adequate humidity and ventilation to survive and thrive, so proper care is important.
- Leave the block inside the bag, and do not open it. To activate your block, place it on its side, exposing an area where the block presses right up against the plastic. Take a sharp knife or razor blade and make a 5-to 6-inch cut along this part of the bag, then gently squeeze out any remaining air. Finally, take the loose bag flap, and fold it underneath the kit.
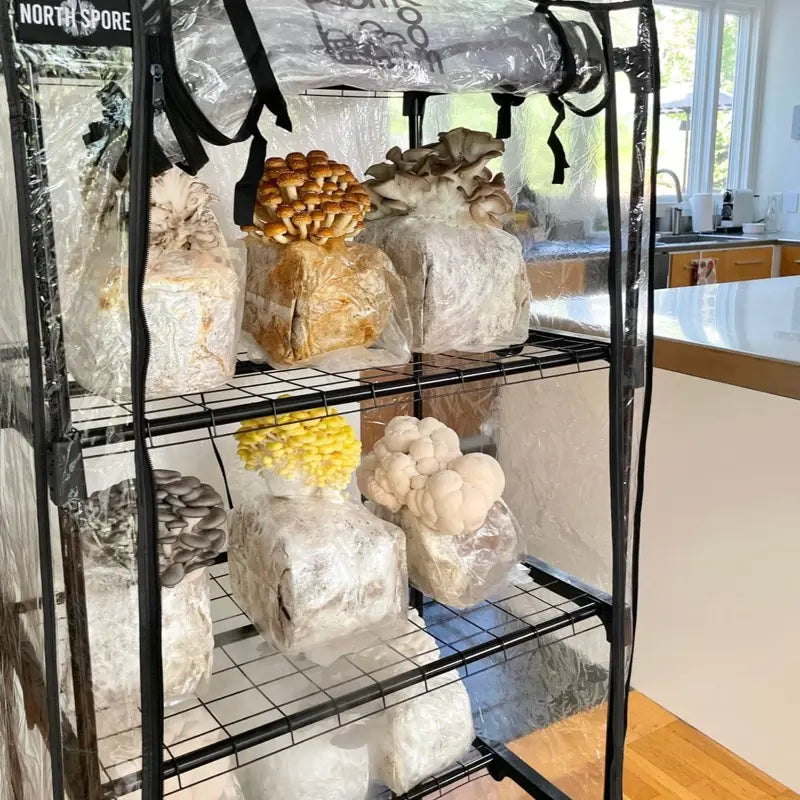
- Place your sliced bag in the most humid part of your home (like next to the sink) or in a humidity-controlled grow chamber. Make sure it is kept away from direct sunlight, and keep it well hydrated. Do this by spraying the outside of your block, over the sliced area, with water at least once per day.
- If your home is very dry, and you do not have a humidity-controlled grow chamber, you may need to make a humidity tent to place over the over fruiting block. To do this, find a loose-fitting plastic bag and make plenty of ½-inch holes all over it. Then place it over the fruiting block (that is still inside it’s original bag.) Once you’ve made the humidity tent, be sure to spray the inside of it a minimum of once per day.
- Within 1-2 weeks of first slicing open your fruiting block bag, the mushrooms will sense the oxygen in the air and begin to produce mushroom “pins,” or little baby mushrooms. When you spot your first mushroom pins, keep a close eye on them. After 5 to 10 days of pin formation, your mushrooms should be ready to harvest.
- Watch to make sure that your mushrooms don’t begin look “stringy” while growing. If this happens, they require more oxygen. Make sure they are in a spot with adequate ventilation and aren’t too close to other mushroom fruiting blocks or kits.
- Harvest your mushrooms when they resemble the mushrooms in the photographs, before the caps flatten out and become concave.
Each subsequent harvest will be smaller in size, but can still produce a nice flush. Before trying for another flush, give your block a one-week break from spraying, then soak it in cold water for 20 minutes, and re-start daily water spraying.
⮕ Click for printable instructions
Temp, Humidity & CO2 guide
|
Fruiting temps
|
55-75 degrees F
|
|
Humidity
|
85-95%
|
|
CO2 Sensitivity
|
<1,000 ppm
|
- Fruiting - The phase of growth in which visible mushrooms begin to appear.
- CO2 sensitivity - When CO2 levels are too high, yields will decrease, stems will become long and stringy, caps will be small, and/or growth will halt.
Storing:
If you don't plan to use immediately, you can refrigerate your block for up to 6 months.
Cooking:
The classic North Spore recipe is to slice up oyster mushrooms and sauté them in a heavy pan on medium heat with butter, garlic, and loads of fresh thyme and rosemary (or whatever other herbs you happen to have on hand!). Cook until the mushrooms have released their liquid, then continue cooking until that liquid has cooked off and the mushrooms begin to brown. Deglaze your pan with a splash of white wine, reduce once more, and finish with a touch of heavy cream. Season generously with salt.
Like all Oyster mushrooms, they retain water and may develop a viscous texture when under-cooked. If you prefer a firm or dryer texture, continue to cook Oysters until their liquid has reduced and cooked off and they begin to brown.
Creating a humidity tent:
If your home is really dry you may want to make a humidity tent to place over your bag. Simply take a trash bag or other loosely fitting plastic bag, put PLENTY of 1/2 inch holes in it. (THIS IS IMPORTANT mushrooms exhale CO2 and inhale Oxygen. They will suffocate themselves if there isn’t adequate airflow! Oysters that look stringy or strange are usually growing that way because they need more air!) If you choose to use a humidity tent make sure to spray the inside of the tent once per day to maintain humidity.
Cautions & considerations:
If you’re going to consume home-grown mushrooms, make sure to cook your fresh mushrooms thoroughly with heat. If it is your first time eating this species, it is best to start with a small amount to check for allergies, even if cooked.
Mushrooms grow spores as they develop. This is a natural means of reproduction. This is when people with allergies or compromised immune systems may want to consider putting fruiting mushroom kits outdoors or in a well-ventilated area. Spores in mushrooms sometimes cause respiratory irritation. In rare cases, spores may also cause irritation for some non-allergic or non-immunocompromised mushroom growers. If you are one of them, it is recommended to reduce the overall spore load by harvesting mushrooms while they are still in their younger growth stages.